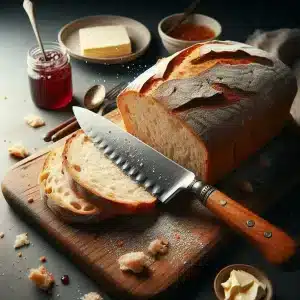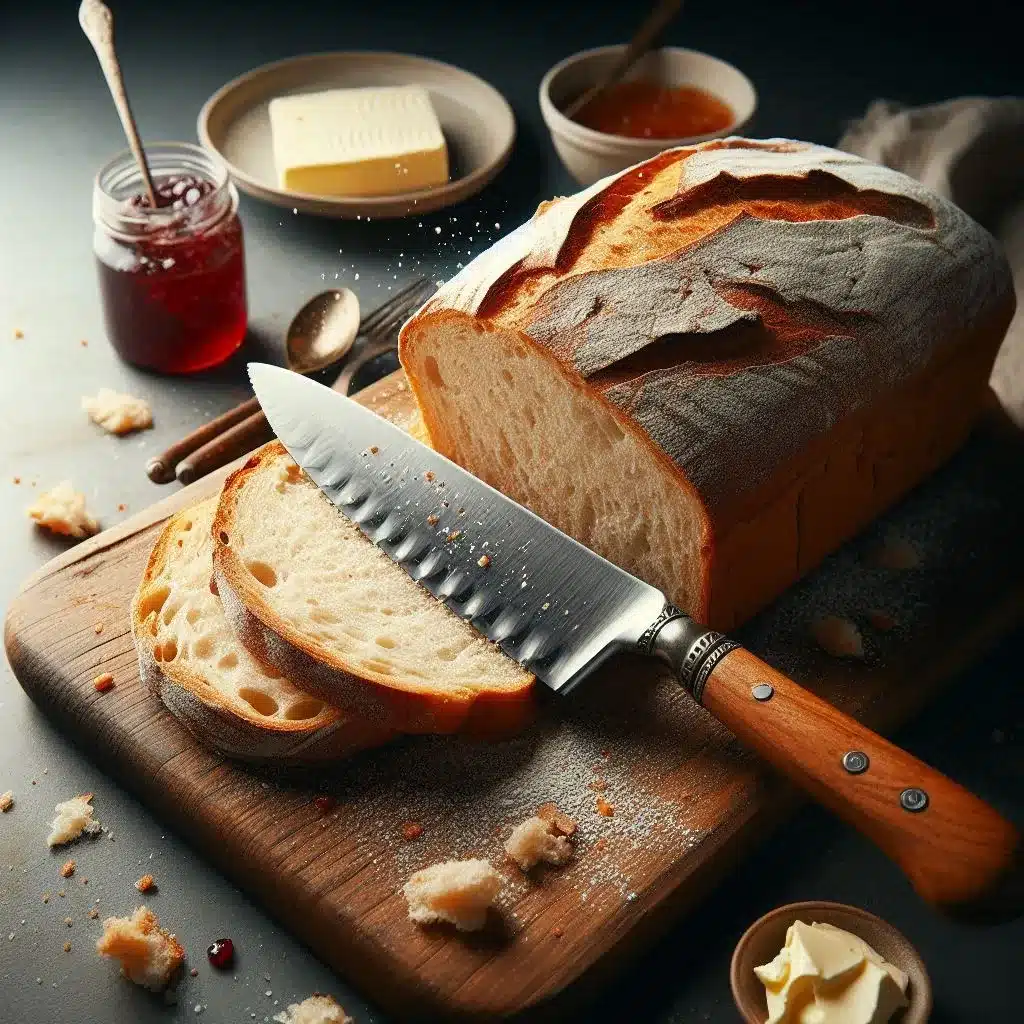
A bread knife is one of the most versatile tools in any kitchen, designed specifically for cutting through delicate foods like bread without crushing them. Its serrated edge makes it ideal for slicing through crusty loaves, but it also works well on other soft or fibrous items such as fruits, vegetables, and even cooked meats. However, like all knives, a bread knife must be kept sharp to perform at its best. Dull serrations can tear or crush food, which not only ruins the appearance but also impacts texture.
In my kitchen, I’ve found that a sharp serrated knife is crucial for keeping the integrity of the food, especially when slicing through delicate items like bread. The satisfaction of slicing cleanly without smashing the loaf is incomparable. That’s why regular maintenance is essential.
Common Misconceptions About Sharpening Serrated Knives
A widespread belief is that bread knives, or serrated knives in general, don’t need to be sharpened because their saw-like edges do the work. While it’s true that serrations stay sharp longer than straight-edged knives, they still dull over time. Another common misconception is that sharpening a bread knife requires professional tools or a new knife altogether. In reality, there are accessible methods that anyone can use at home to keep their serrated knives sharp.
One method often overlooked is using a sharpening rod. Although most people might only associate sharpening rods with straight blades, they are highly effective for serrated knives when used correctly.
How to Sharpen a Bread Knife: Step-by-Step Guide
Sharpening a bread knife is slightly different from honing a straight blade due to the unique shape of its serrations. Here’s a detailed guide on how to sharpen your bread knife and maintain its cutting power.
Using a Sharpening Rod
One of the most straightforward and effective ways to sharpen a serrated knife is by using a ceramic or tapered sharpening rod, often referred to as a honing rod.
- Step 1: Place the rod in the serration. Start by identifying the beveled side of the knife — usually, only one side of a serrated blade is beveled. Place the sharpening rod in the first serration, applying light pressure.
- Step 2: Match the angle. Most serrations are ground at an angle, typically around 20 degrees. It’s crucial to match the angle of the rod to the serration to avoid over-grinding.
- Step 3: Use short, gentle strokes. Move the rod back and forth in short strokes, working from the base of the blade to the tip of each serration. Spend a few seconds on each serration until you feel a slight burr forming on the flat side.
- Step 4: Remove the burr. Once you’ve sharpened each serration, gently run the flat side of the knife along a whetstone or fine-grit sandpaper to remove any burrs.
Other Effective Methods to Sharpen Serrated Knives
- Using a Whetstone: This technique is more commonly used for straight-edged knives, but you can also lightly sharpen the flat side of a serrated knife on a fine-grit whetstone to maintain sharpness.
- Professional Sharpening Services: If you’re unsure about doing it yourself, professional services can be an option. Many knife stores or sharpeners offer this service, particularly for high-end knives.
How Often Should You Sharpen Your Bread Knife?
Serrated knives don’t need to be sharpened as frequently as straight-edged knives, mainly because their design allows them to stay sharper for longer. Generally, you should sharpen your bread knife once or twice a year, depending on how often you use it. If you use your knife daily for heavy-duty tasks, you may need to sharpen it more frequently.
In my kitchen, I check the sharpness of my bread knife every few months. If I notice that it’s no longer cutting as smoothly or it starts to tear through bread, it’s a sign that the knife needs sharpening.
Best Tools for Sharpening Serrated Knives
Sharpening a serrated knife requires specific tools that can handle its unique edge. Here’s an expanded look at the best tools for sharpening your bread knife:
Sharpening Rod (Ceramic or Tapered)
A ceramic or tapered sharpening rod is the most recommended tool for sharpening serrated knives. This tool fits perfectly into the individual grooves of the serrations and allows you to sharpen each tooth of the blade with precision.
- Why it’s effective: The rod’s tapered design allows it to fit even the smallest serrations, sharpening each groove individually without damaging the blade.
- How to use it: Insert the rod into each serration at a matching angle (typically around 20 degrees) and gently stroke back and forth to sharpen.
Whetstone (for Smoothing the Flat Side)
Though typically used for straight-edged knives, a whetstone can be used to smooth out any burrs on the flat side of your serrated knife.
- Why it’s effective: A fine-grit whetstone helps remove any burrs left after sharpening, ensuring the blade stays sharp without over-sharpening the serrations.
- How to use it: After sharpening the serrated side with a rod, run the flat side of the blade lightly over the whetstone.
Diamond-Coated Rod
A diamond-coated sharpening rod works similarly to a ceramic rod but is more abrasive, which can be useful for very dull or damaged blades.
- Why it’s effective: The fine diamond particles make it quicker and more efficient for dull knives, but care must be taken to avoid over-sharpening.
- How to use it: Insert the rod into each serration as you would with a ceramic rod and use light pressure to avoid removing too much material.
Electric Knife Sharpener (With a Serrated Setting)
Some electric sharpeners come equipped with a setting for serrated knives, offering a quick and convenient sharpening option.
- Why it’s effective: This is a good choice for those looking for a quick solution, although manual sharpening offers more precision.
- How to use it: Follow the machine’s instructions and ensure it’s specifically designed for serrated edges.
Honing Steel (For Maintenance, Not Sharpening)
A honing steel is often confused with a sharpening rod but serves a different purpose. It helps maintain the edge of a serrated knife between sharpening sessions.
- Why it’s effective: While it doesn’t sharpen, it helps realign the serrations, extending the time between sharpening sessions.
- How to use it: Lightly run the serrated edge along the steel, maintaining the correct angle to realign the teeth.
Signs It’s Time to Sharpen Your Bread Knife
How do you know when your bread knife needs sharpening? Here are some telltale signs:
- Tearing Instead of Cutting: If your bread knife starts tearing or smashing food instead of making clean cuts, it’s time to sharpen it.
- Uneven Serrations: If the serrations on the blade appear uneven or worn, the knife may need some attention.
- Excessive Pressure: If you find yourself applying more pressure than usual to make a cut, this is a sign that the blade has dulled.
When I notice that my knife is smashing the bread rather than slicing cleanly, I immediately sharpen it. It restores the knife’s ability to glide through the food.
Maintaining Your Bread Knife After Sharpening
After you’ve sharpened your bread knife, maintaining it properly will extend its sharpness and lifespan. Here are some key maintenance tips:
- Hand wash only: Serrated knives, like all kitchen knives, should be hand washed to avoid damage from dishwashers.
- Dry immediately: Prevent rust by drying the knife thoroughly after washing.
- Store properly: Store the knife in a sheath or on a magnetic strip to avoid dulling the serrations.
I’ve learned the hard way that improper storage can dull the serrations faster than expected, so I now make sure to store my knives carefully.
Expert Tips: Sharpening Bread Knives Safely and Efficiently
- Go slow: When sharpening each serration, work slowly and steadily. Rushing can cause you to miss sections or damage the blade.
- Use light pressure: Don’t apply too much force when using the rod, as this can wear down the knife unnecessarily.
- Test carefully: After sharpening, carefully test the knife on a soft loaf of bread to ensure that it slices cleanly without tearing.
Maintaining a safe, steady hand while sharpening ensures that your knife remains in top condition without causing damage to the blade or yourself.
Keeping a bread knife sharp is essential for maintaining its performance in the kitchen. While many people overlook the importance of sharpening serrated knives, regular maintenance ensures that your knife cuts efficiently and preserves the integrity of the food. With tools like a ceramic sharpening rod and proper techniques, you can easily sharpen your bread knife at home and enjoy its benefits for years to come.
By integrating simple sharpening practices into my routine, I’ve found that my bread knife remains a reliable tool for slicing bread, fruits, and more, without compromising on quality.